We have made it to our fourth and final day of Blog Hop Challenges, but never fear, you still have until 5pm EST on Saturday, August 31st to comment on each day's blog hop challenge posts!! Today, we have another set from Torico, Bring The Giggles!!

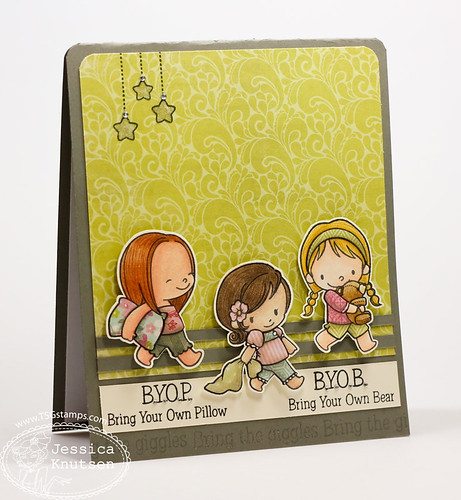
Are you ready for a slumber party? Having a slumber party? Our new set, Bring the Giggles is the perfect set for you, then! Just remember the golden rule though: No Boys Allowed!!

Bring the Giggles is a 6x8 set that includes a total of 24 stamps and will sell for $24.00. This set will be for sale at 11pmEST on Saturday, August 31st.
Would you like to win the new Bring the Giggles stamp set? Here is what you need to do- visit the Trendsetter’s blogs that are participating in each of the blog hop challenges below and comment on their creations as you go. One of the Trendsetter’s blogs (from each hop day) will be randomly chosen as the ‘it’ blog and a winner will be picked using a random number generator from the comments left on that Trendsetter’s Blog Hop Challenge post.
You will not know which blog has been chosen so the more you comment on the better your chances are of winning new stamps! The Blog Hop Challenges will be open until 5 PM Eastern Time Saturday, August 31st with the winner being announced during the release party chat.
************************************
It's our last day of sneak peeks and tomorrow (Saturday) evening you will finally have the chance to buy all of the new stamp sets that we have been showing off all week. This set is a must have for the little girls in your life! We have had many requests for a slumber party theme and Torico did an amazing job illustrating it!
There are a ton of different images and sentiments included in this large 6x8 sized set and you are going to have so much fun creating with it! Just think about all of the cute little slumber party invites your little girl can make for her friends :)
Thank you so much for stopping by all week! Make sure to join us on the TSG Facebook page tomorrow (Saturday) evening for our release party chat. One lucky participant from the chat will win the ENTIRE release!!!!
Now hop on over and check out what the other Trendsetters have made with this adorable new set <3
Bring The Giggles Blog Hop Challenge
http://jessica-thereshegoes.blogspot.com/2013/08/bring-giggles-blog-hop-challenge.html


